Dunning is the process of methodically communicating with customers to ensure the collection of accounts receivable. Laws in each country regulate the form and the allowed costs in the dunning process. In the application you have the option to create your dunning configuration and conditions that define how the dunning and debt collection process including fees should take place.
Dunning is only available for certain payment methods and therefore certain connectors. The dunning process only makes sense for payments that are not guaranteed by another party.
You can see if dunning is available for a connector when you are able to enable it in the connector configuration.
The following sections show you how the dunning can be enabled and configured for your flows.
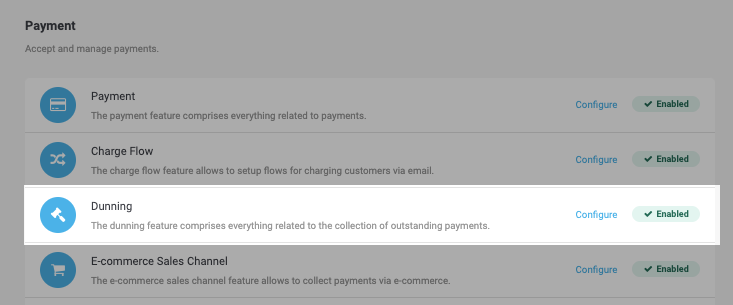
As described above, dunning is only available if your processor and payment method supports it. If this is the case, you will see an option to enable the dunning for your processor inside the connector configuration. To start configuring a dunning flow, enable Dunning in your Features under the Space menu.

In order for the dunning to work and create dunning cases you have to configure at least one fitting dunning flow. A dunning flow consists of a type and dunning flow levels that define the deadlines for each level and how your client should be reminded including the costs for each level.
When you create a flow you will be asked to select a type. You can choose from a generic type and a country specific type. The country specific type will only be applied if the client’s billing address is from that country. In case you choose a country specific type you do only have some remaining options to configure. The rest is automatically updated according to the law of the selected country. If your country is not in that list you should choose the generic option.
Inside the configuration of the flow level you can specify a name and a default interest rate for B2B and B2C relationships. Based on your jurisdiction you have to find out what maximum rates are allowed. The default interest rate will be calculated from the day when the payment is due. Once the flow is saved you can start to create flow levels.
A dunning flow needs to have at least one assigned flow level. If you create a dunning flow level you have to select how a due invoice in the respective dunning flow will be processed on each level:
-
Manual Processing: In the manual processing nothing will be done except the creation of a dunning case.
-
Send via Email: In case you choose to process via email we send out a reminder email based on the specified template.
-
Send to Printer: In case you choose to send it to the printer, a dunning document will be generated and printed out in case your space has a valid printer configuration for one of the cloud printing services that we support.
Based on what processor type you select you will have different options to configure in the configuration flow. For all processors you will have to set at least the following options:
-
Configuration Name
-
Priority: This is used to sort the different levels. Make sure that you only use the priority once.
-
Period: This defines how long the payment period of this flow level will be unless the next level will be selected to process the case.
-
B2C and B2B Fees
-
Template for the reminder. In order to change this you will have to first create a document template in your space Space > Document Templates.
The dunning conditions can be applied on certain properties of the transaction in order to select the correct dunning flow. This allows you to create flows that are only applied after a specific transaction amount or for specific billing addresses.
Learn how dunning case can be managed and how you are able to see all invoices for a transaction.
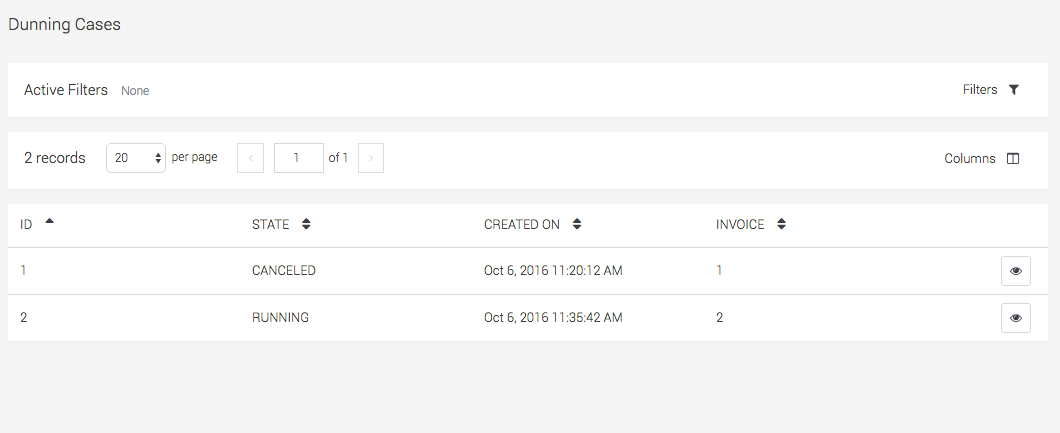
Whenever a invoice will become overdue a dunning case will be created. You are able to see the state and manage the different cases in your dunning case menue Space > Payment > Dunning Cases.
You can open the cases and cancel them in case you do no longer want to remind the customer.

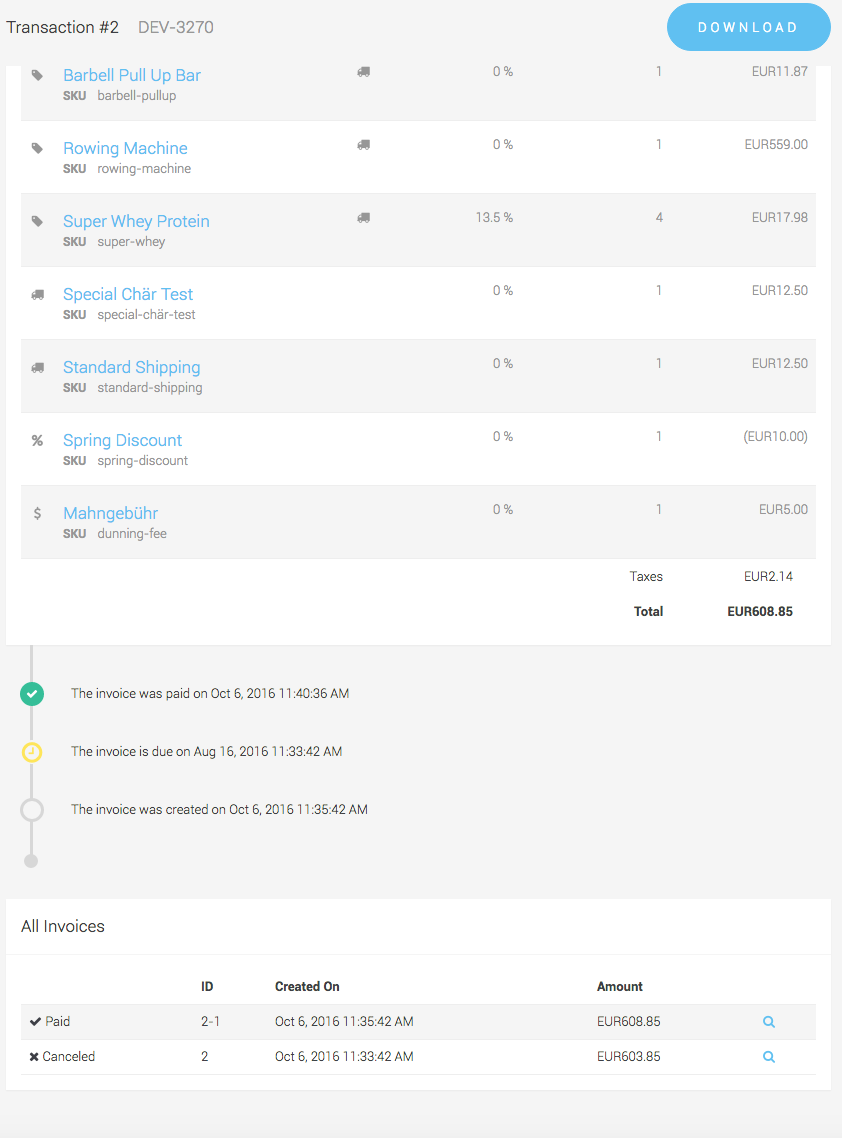
Once a dunning case is created we will replace the initial invoice of the transaction and add the fees and default interest to the invoice. You can see all invoices of a transaction if you open the transaction and switch to the invoice tab.

Once you have set up the dunning flows and flow levels and enabled the dunning feature you are ready to start. The dunning of the invoices will be taken care of automatically from now on. Whenever a invoice will become overdue a dunning case will be created. The case will be processed according your level configurations. If the end of the dunning flow is reached and the invoice is still open the case will be closed and the transaction will be derecognized for further debt collection processes via third party providers or it can be written off finally in your accounting.

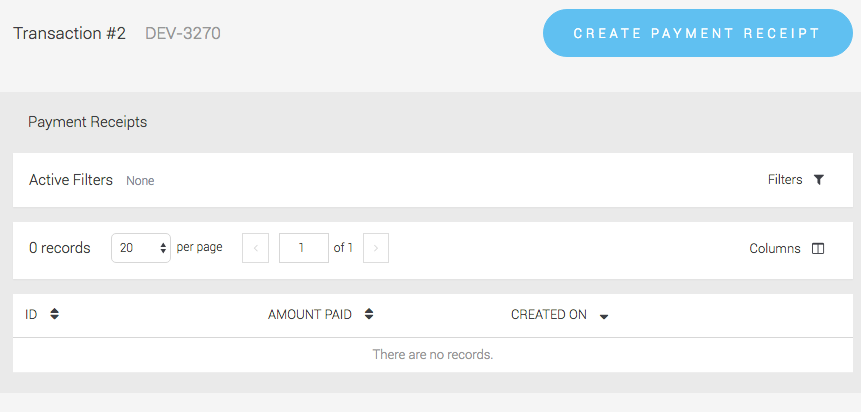
The dunning case will be marked as succeeded once the amount is paid and a transaction receipt for a transaction has been created. The transaction receipt can be created automatically if you use a country specific process like ISR Payment in Switzerland. If you manually check the payments of your customer you will have to open the transaction and switch to the tab payment receipt to create a payment receipt for this invoice. Click on payment receipt and specify the paid amount.

After the amount is fully paid the invoice will switch in to paid state and the case will be marked as succeeded.
If the invoice is not paid after all flows of the case have been processed. The state of the invoice switches to derecognized. The inovice is now written off and has to be processed via third party debt collection providers or you create a legal case manually on your own.
|
Note
|
If you do not have set up a suitable dunning flow configuration or dunning flow level the invoice will also directly go into the derecognized state in case the dunning is enabled. |
